How to Add A Lacquer Finish To Your Wood Floor
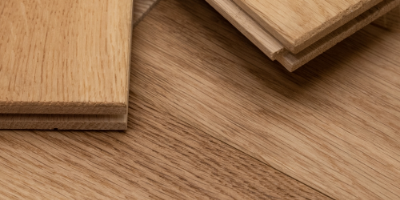
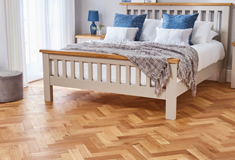
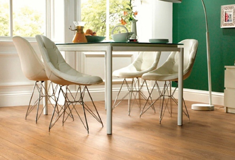
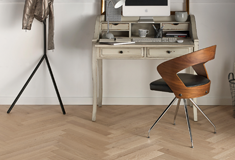
Most of the flooring we stock here at luxury flooring and furnishings comes pre-finished with either an oil or lacquered finish.
However for whatever reason you would need to re-lacquer your oak wood floor, be it wear and tear or looking for a new look – we have this amazing guide to floor lacquering for you.
Why is it Important to Keep your Floor Lacquered?
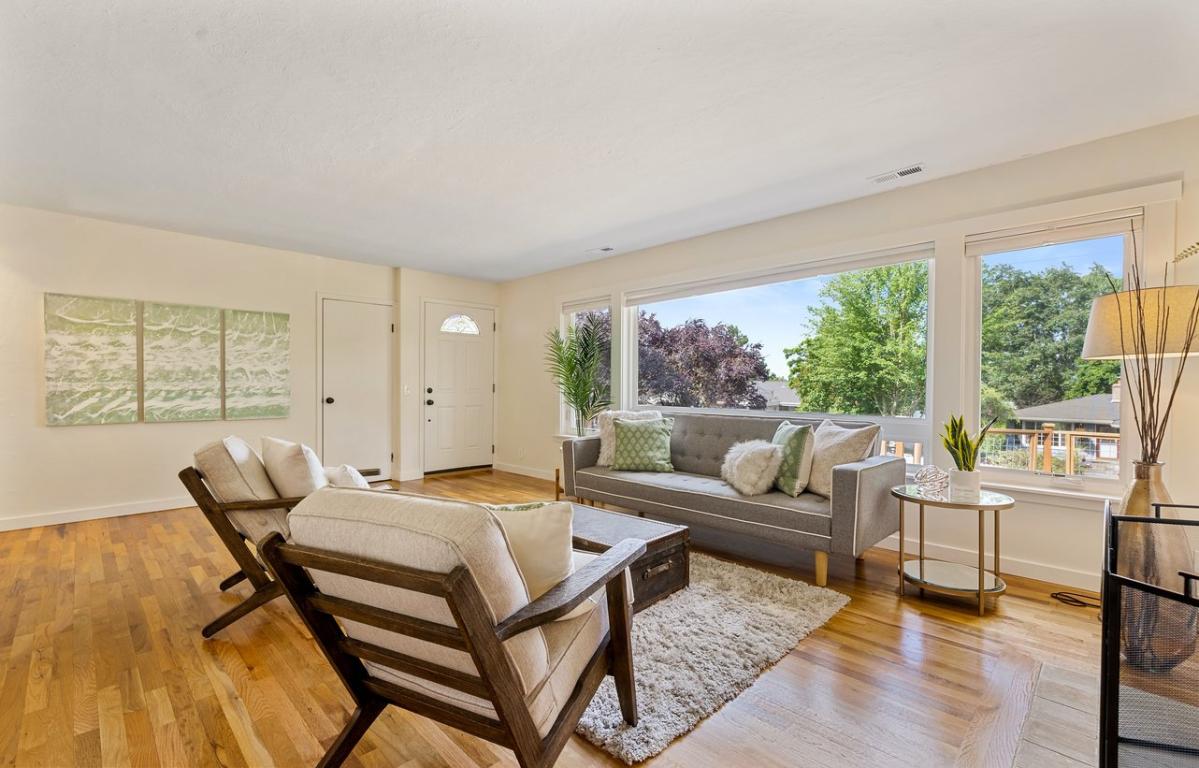
The floor is the most hard-wearing feature in any room design, with heavy traffic day in and day out dependant on the room. This is particularity true in the living room for example, where wet shoes, everyday clumsiness and pets all have an impact on the condition of your floor.
This is why having a well lacquered floor is so important, as it acts as a sealant which protects the natural finish of your wood floor from everyday wear and tear. This clear finish also enhances the natural charm and character your wood floor can sometimes remain hidden away.
All in Preparation
So the first matter when applying new lacquer to your hardwood floor is choosing which type of lacquer to use. The choices here are matte, satin or gloss lacquer.
Next up is preparing the floor itself. Here you must make sure that your floor is dry and meticulously clean before application. This is because although lacquer is a great way of protecting your floor, it will not cover up any dust and marks within the floor. The same rule goes for any imperfections, ensuring these are dealt with before you begin to apply any lacquer to your floor.
Next remove any previous finishes on the floor, for this we recommend using vibrating sander to ensure the best outcome. Follow this with a final sanding using 120-grit sandpaper to give the smoothest surface possible. From here be sure to vacuum your floor space, as dust will ruin your desired lacquer finish.
It is here that you can apply your new floor stain should you desire it, taking extra care that the stain is compatible with your choice of lacquer. You should always use offcuts or a small, unnoticeable sample area of your floor when staining any wood flooring product, in order to ensure that the stain is the exact colour and shade you desire.
Follow this step with one final sanding and dust removal – now we are ready to apply the lacquer.
The Right Preparation
Before you begin, check to see if your lacquer has any humidity level requirements. This is very important to note as should it require a specific room temperature your newly lacquered floor may end up with a blushing effect. This is where moisture has gotten trapped underneath the lacquered layer due to temperature fluctuations, resulting in white patches appearing in the finished product.
Once this has been checked and precautions taken open the tin and take either a high-quality brush, or dedicated lacquer roller apply it directly to your wood floor. Be sure that while doing this you also make time to stir the lacquer frequently to keep the solids suspended in the tin.
From here it is a case of following the manufacturer’s instructions for the time needed to dry and if further applications are required.
Things to Watch Our For
One very important factor when using solvent based lacquers produce fumes which can pose a significant health risk and potential death if over exposed. Therefore, it is a must that you are to make sure you are working in a well-ventilated area, making use of a box fan at a well opened window to draw out harmful fumes.
Fire is also a large risk with solvent based lacquers, so be sure to remove any sources of ignition turn off any lighting in the room.
Finally lacquer finished flooring will attract insects at an alarming rate, so make use of nets and properly ventilated screens to prevent bugs getting stuck on your newly lacquered floor.
Have Your Say
Do you have any tips to share with us about applying finished to your wood floor? Let us know down below!
Find us on Facebook, Twitter, and Instagram for more news, blog posts, and great content.

